Multi-repository deployments are available on Enterprise plans.
How multi-repository deployments work
Each repository in a multi-repository deployment has its own:- Git provider connection
- Branch
- Optional content directory
- URL path
docs.json
docs.json is the root docs.json and controls site-level configuration, including theme, colors, logo, site name, top-level navigation, integrations, SEO, and other top-level fields. Every other source contributes only its own navigation and content under its configured URL path. The first repository you configure is the base source by default, and you can change which source is the base at any time.
Multi-repository deployments are different from a monorepo setup. Use a monorepo setup when you store all content in a subdirectory alongside source code in a single repository. Use multi-repository deployments when you store content across separate repositories.
Requirements
- An Enterprise plan
- Admin access to your Mintlify project
- A
docs.jsonfile in each repository source - All repository sources must use the same Git provider (all GitHub or all GitLab). Adding a source from a different provider removes all existing sources of the other type
Configure multiple repositories
Open Git settings
Navigate to Git settings in your dashboard.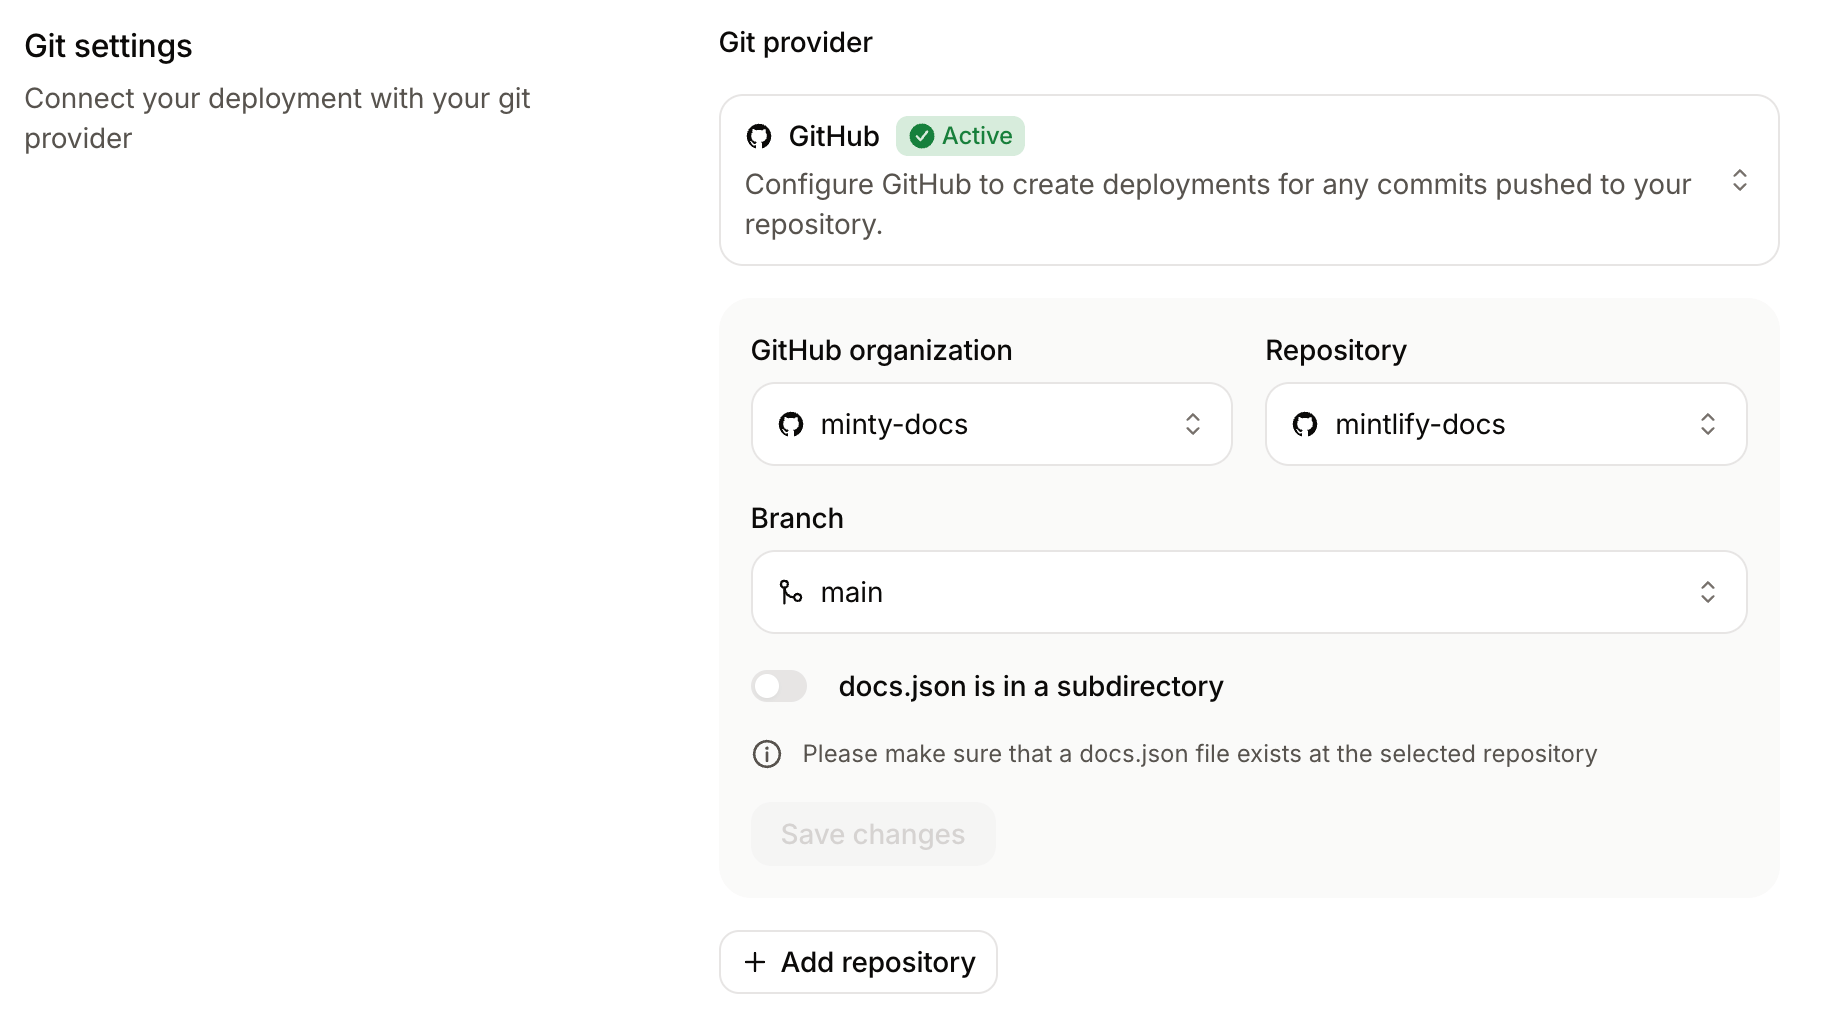
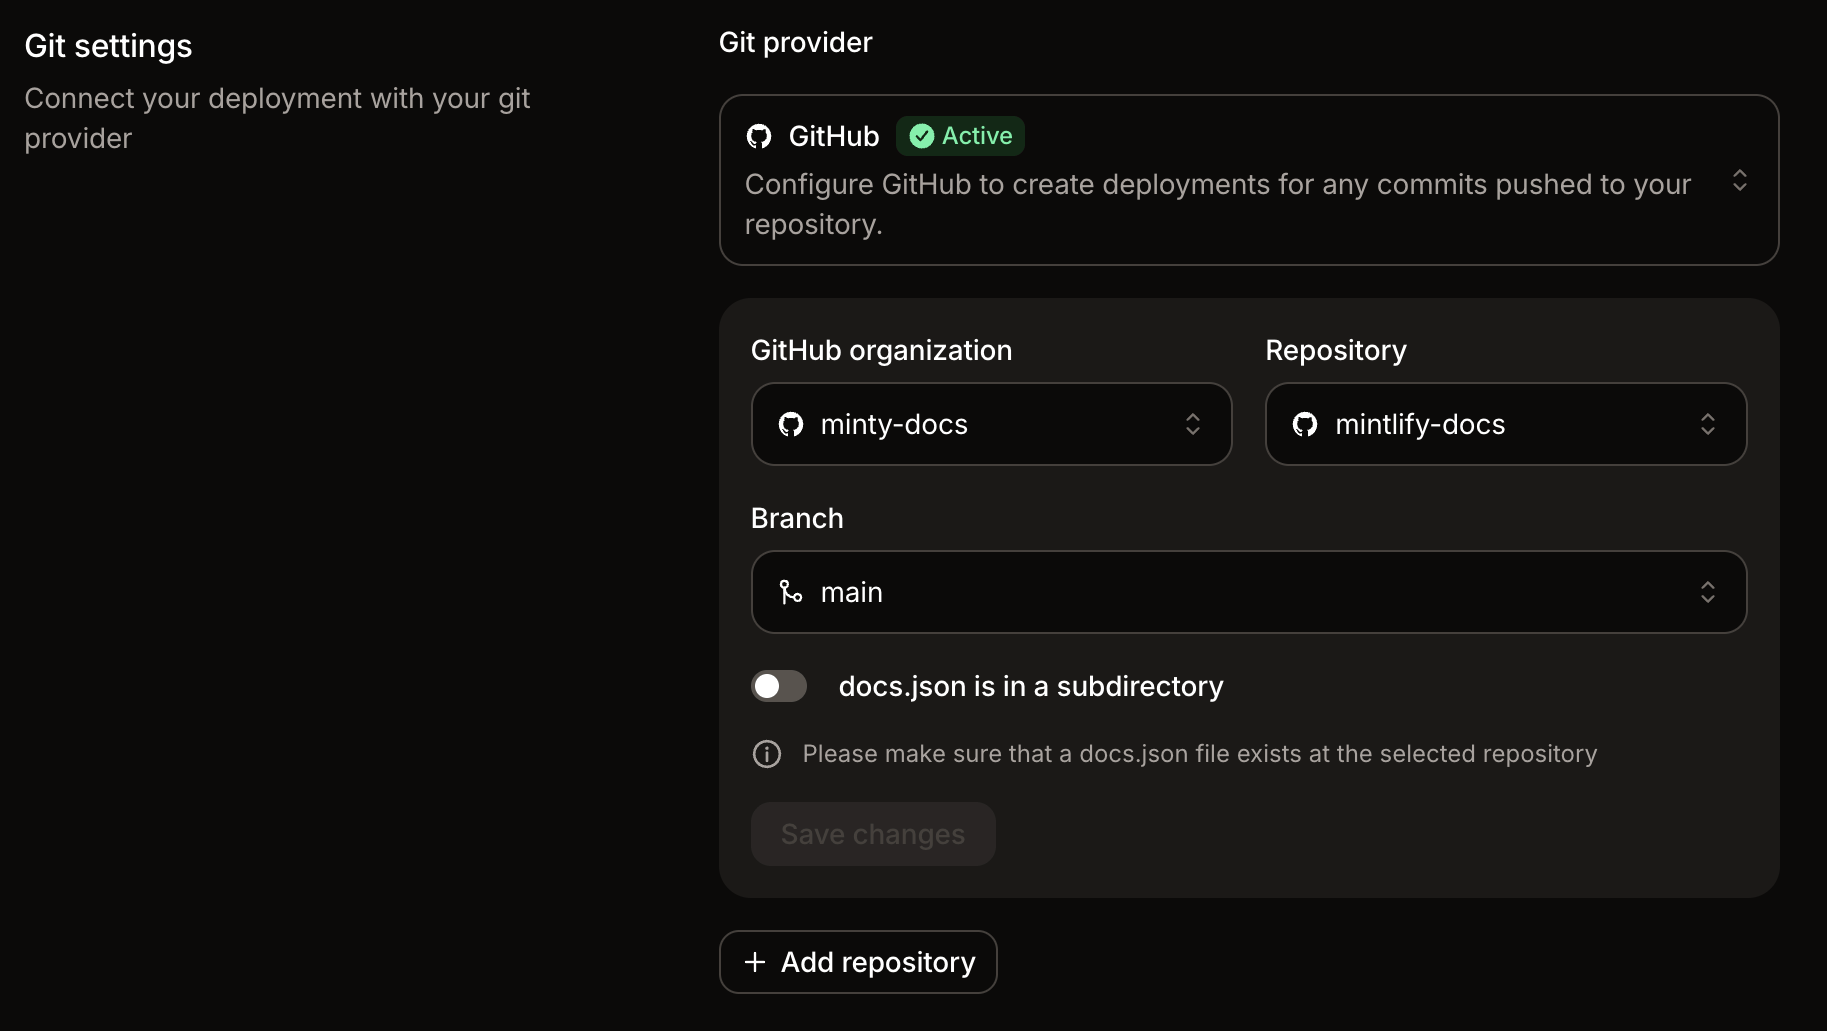
Configure the repository source
Select the repository, branch, and any required Git provider-specific fields (GitHub or GitLab).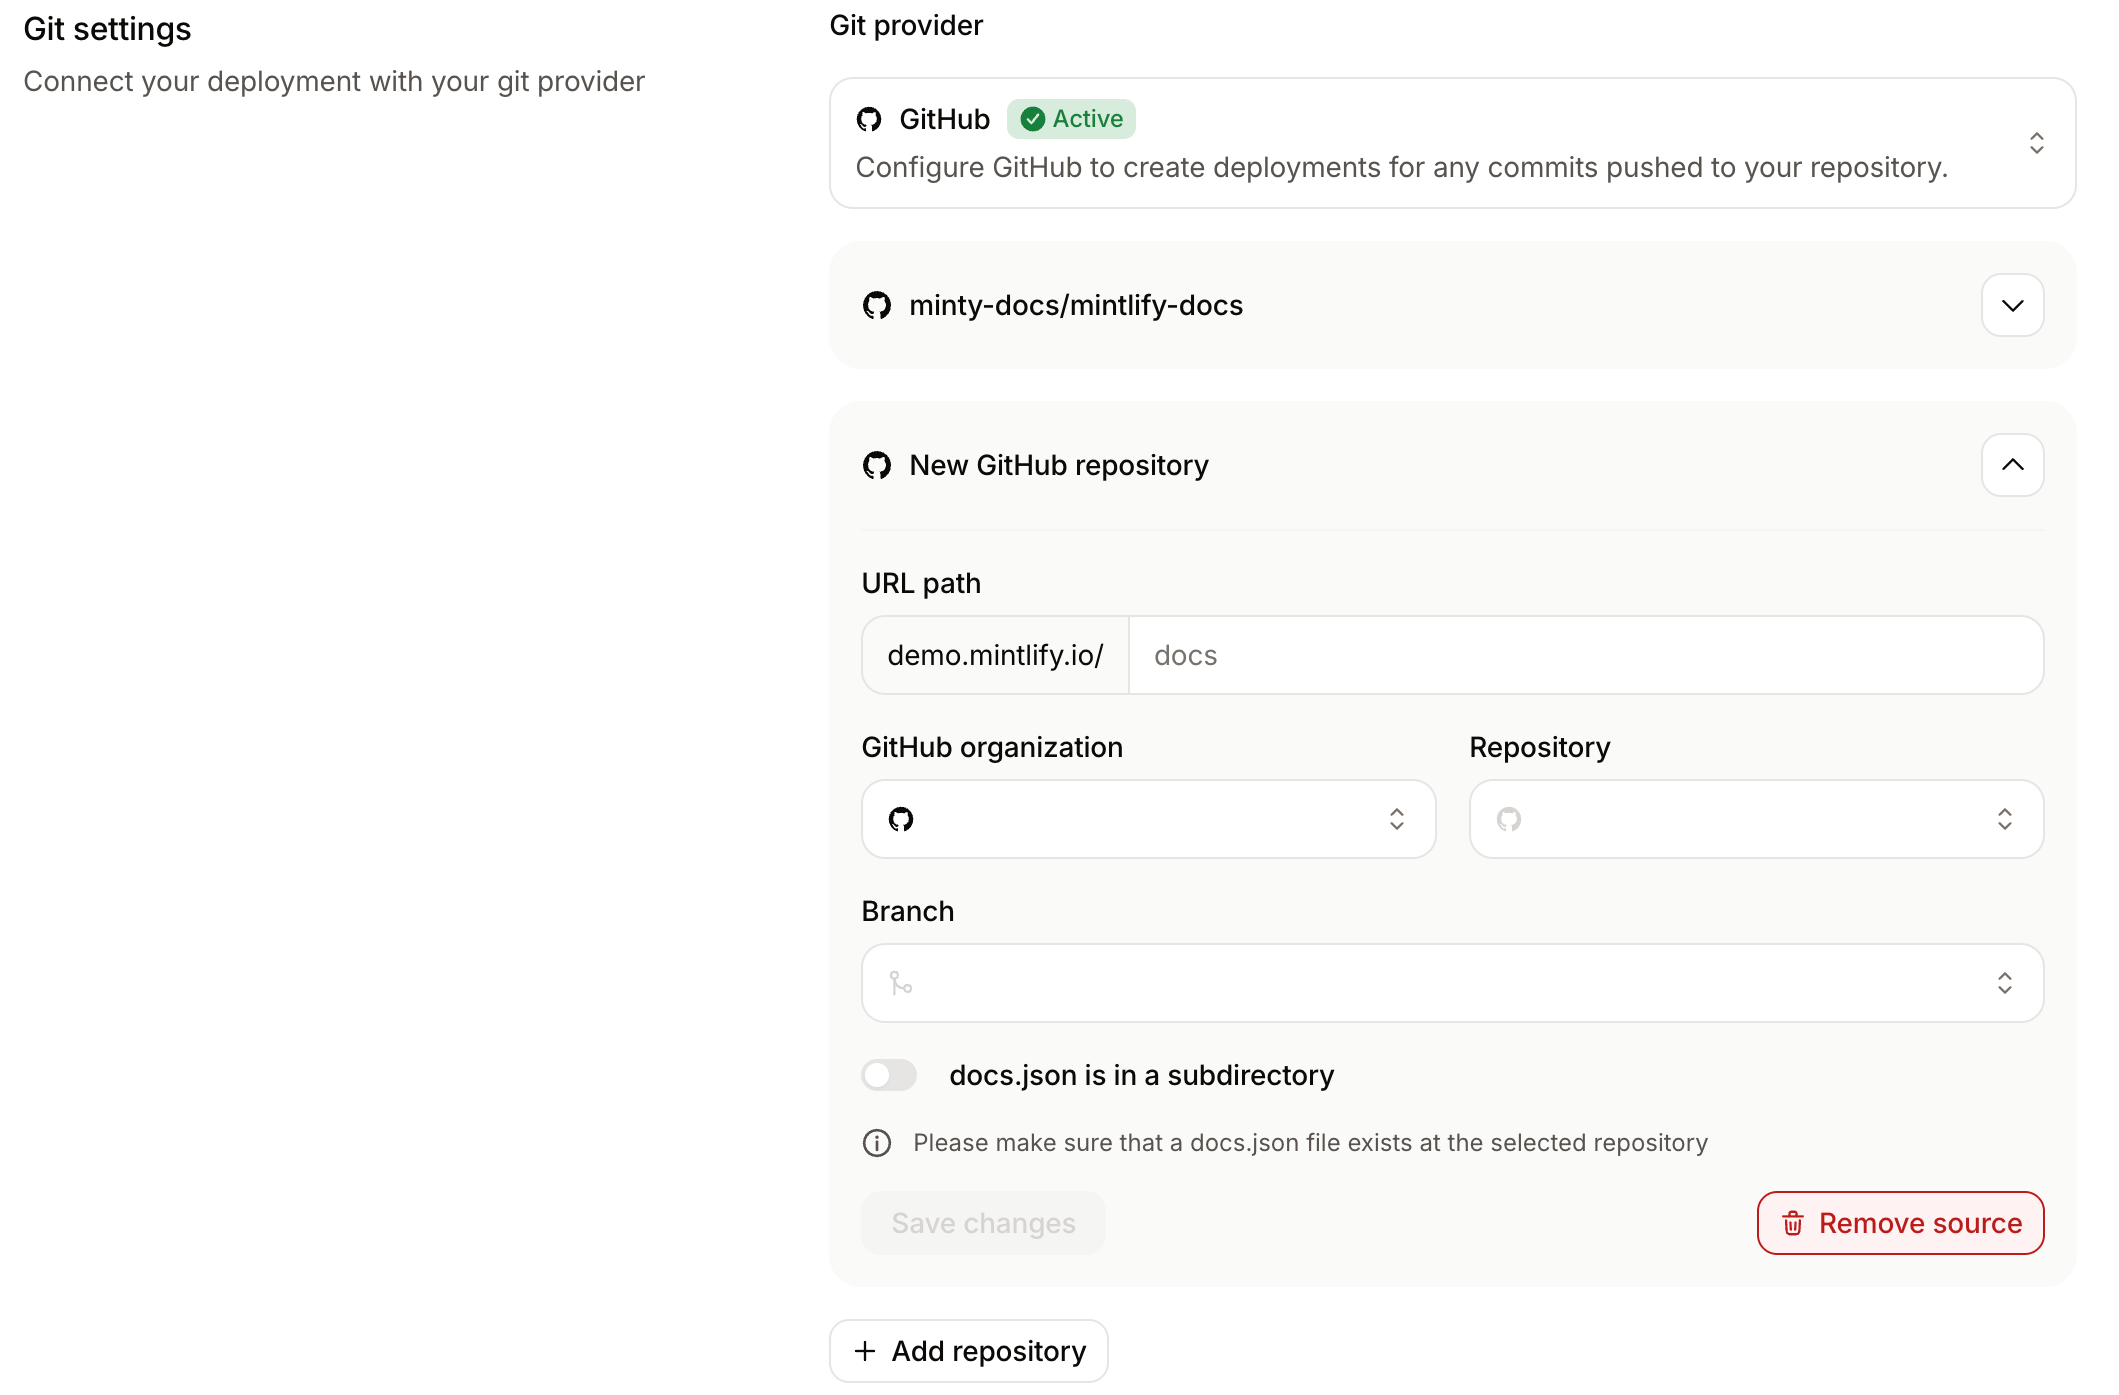
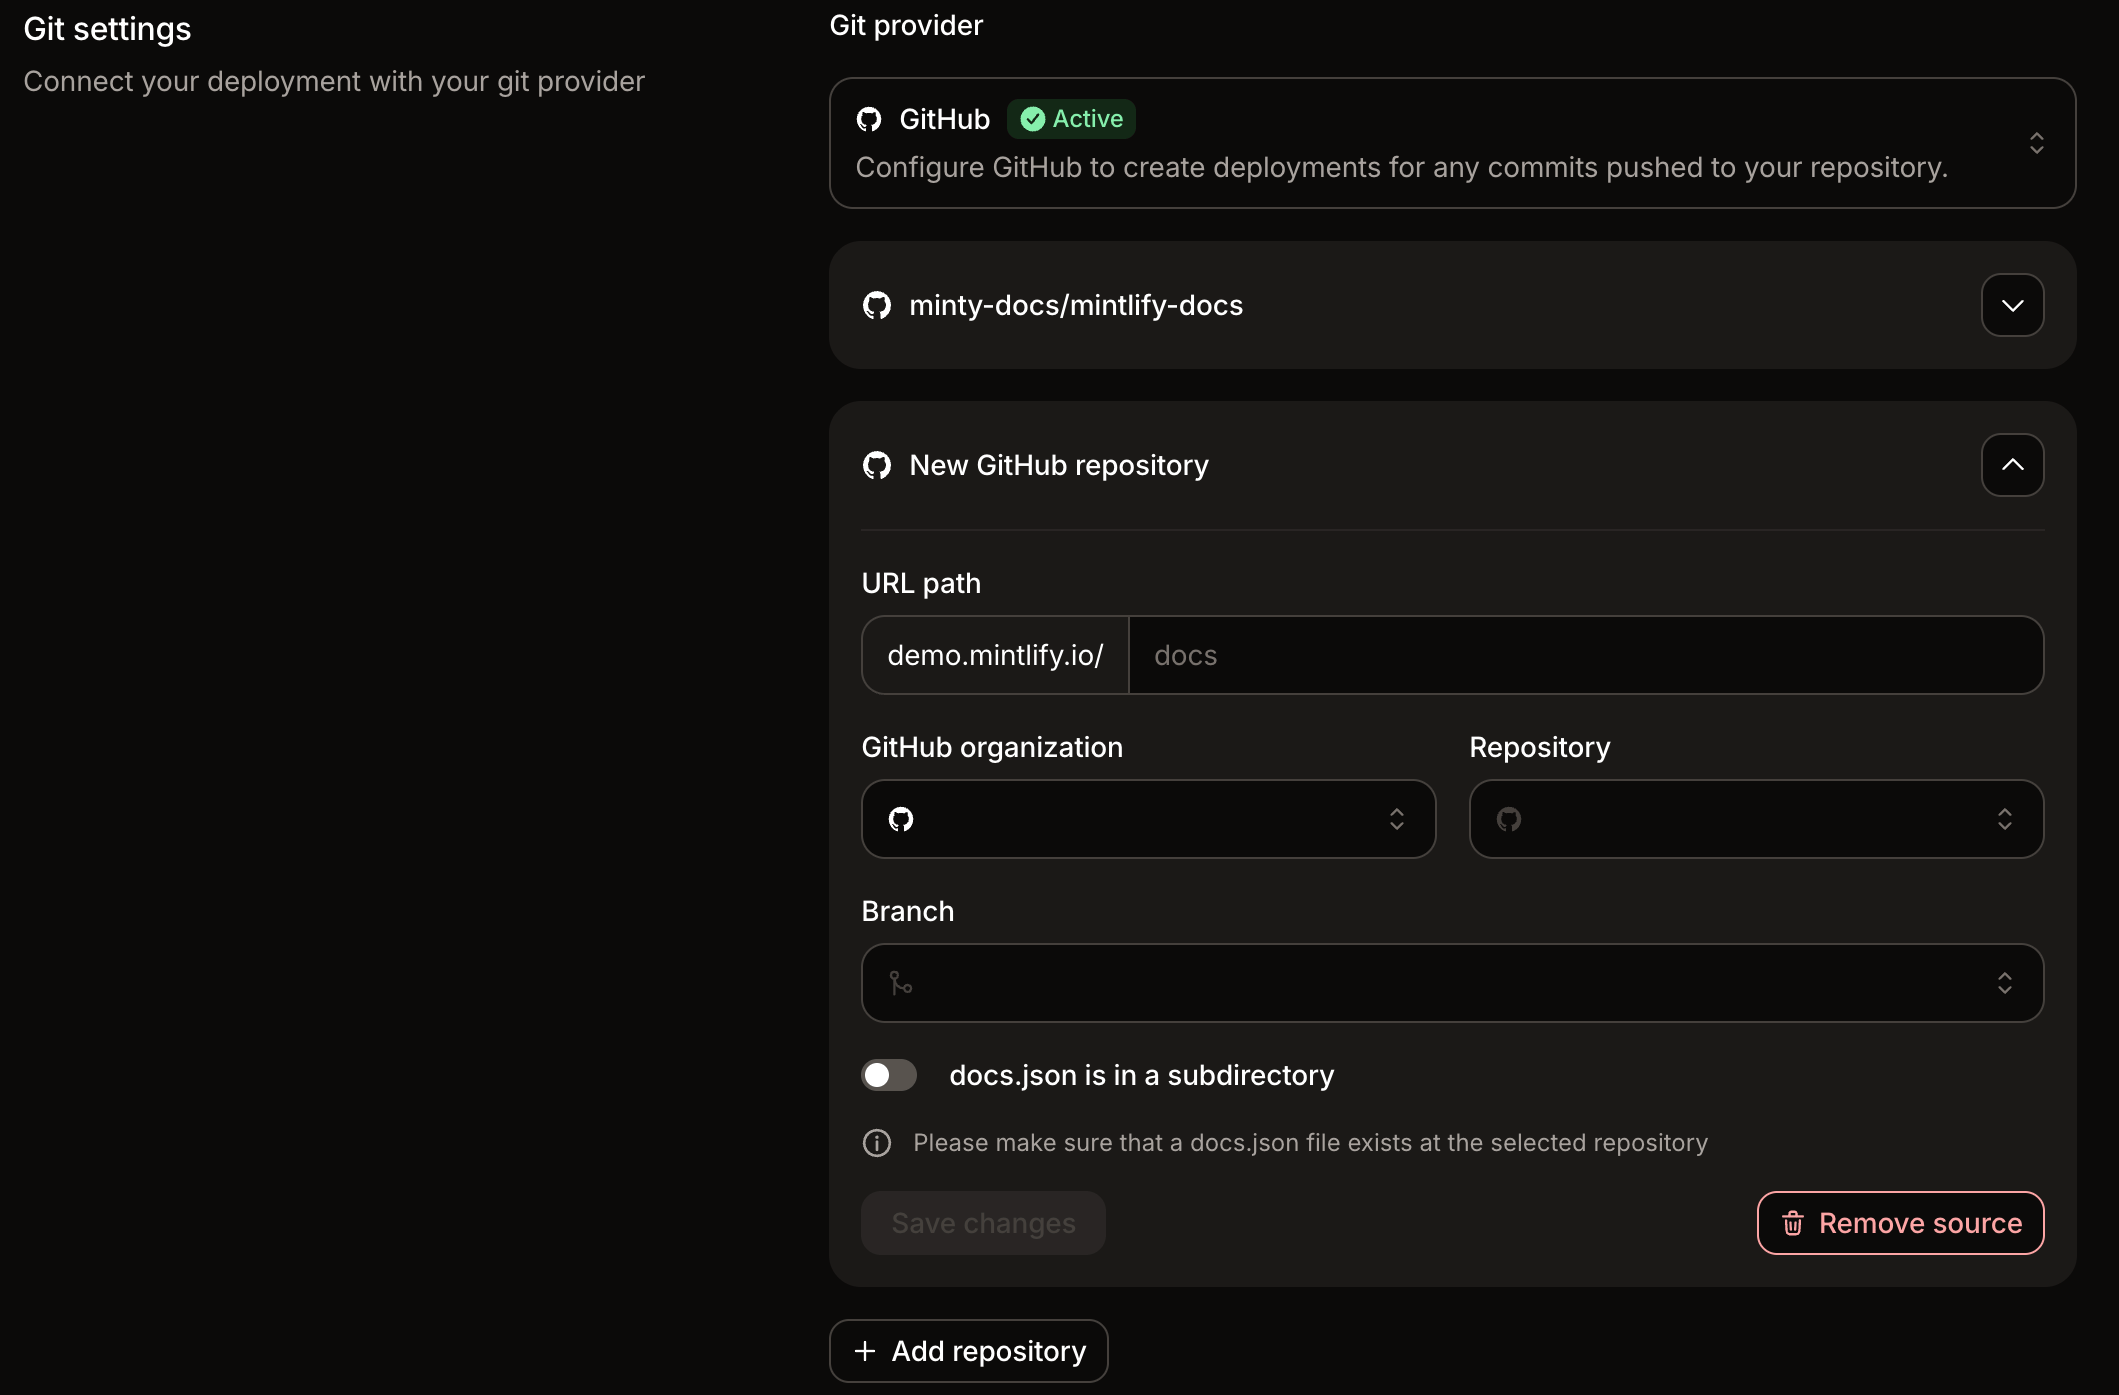
read_repository scope.If the repository’s docs.json is in a subdirectory rather than the root, enable docs.json is in a subdirectory and enter the path to that directory.Set the URL path
Enter a URL path for the repository source.The URL path determines where the content from that repository appears on your docs site. For example, a URL path of
api serves the content under docs.example.com/api.You can enter the path with or without leading slashes. Mintlify normalizes the value when you save.
Change the base source
The base source provides the site-wide configuration for your multi-repository deployment. Change the base source when you want a different repository’sdocs.json to control settings like theme, colors, site name, and top-level navigation.
Open Git settings
Navigate to Git settings in your dashboard.The current base source shows a Base badge next to the repository name.
Example repository layout
In this example, each source has its own repository and its owndocs.json.
| Repository | URL path | Published path |
|---|---|---|
acme/product-docs | product | /product |
acme/api-docs | api | /api |
acme/sdk-docs | sdks | /sdks |
Navigation behavior
Mintlify combines the navigation from each repository into one site navigation. Each repository source becomes a top-level product section under the configured URL path. The name of each product section comes from thename field in the corresponding repository’s docs.json. For example, if a repository’s docs.json sets "name": "API Reference", its product section appears as “API Reference” in the combined navigation.
Keep each source’s navigation scoped to that repository. For example, pages in the API repository should reference only files that live in the API repository, and pages in the SDK repository should reference only files that live in the SDK repository.
Nested navigation.products configurations are not supported inside individual source repositories.